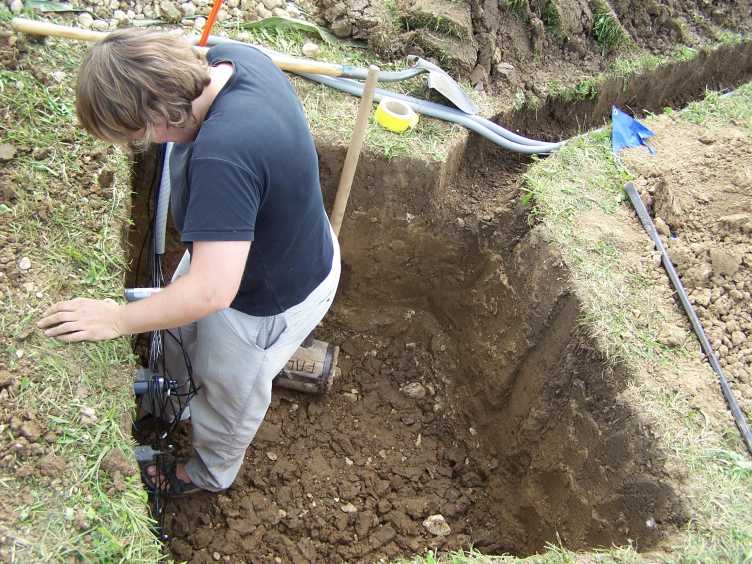
Station setup
The stations for the SwissSMEX stations are set up in 5 main steps.
Step 1
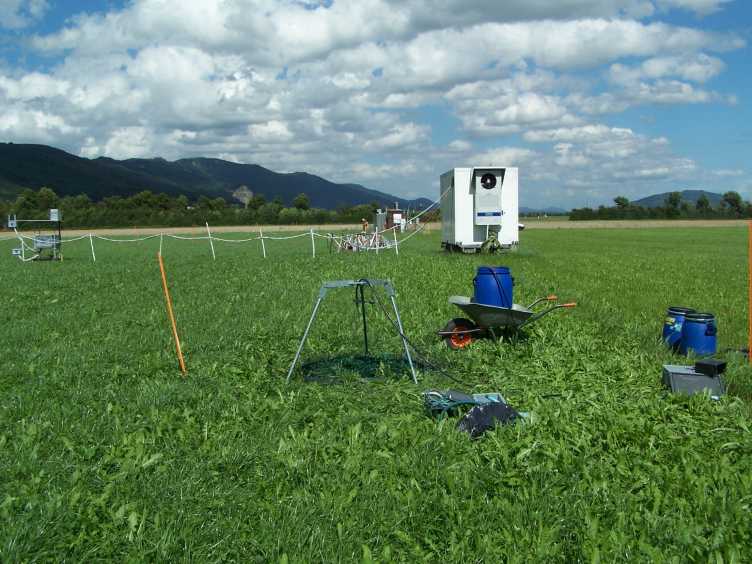
First, a sprinkling experiment is conducted at the location of the measurements, so as to identify preferential flow paths in the soil. An area of 1 m² is irrigated for two hours with an intensity of 60 mm/h. The applied tracer is Vitasyn AE90 (Brilliant Blue) with a concentration of 5 mg/l. The sprinkling experiment is performed one day before the digging of the hole and set-up of the instruments. This ensures that all the water infiltrates and penetrates into the soil.
Step 2
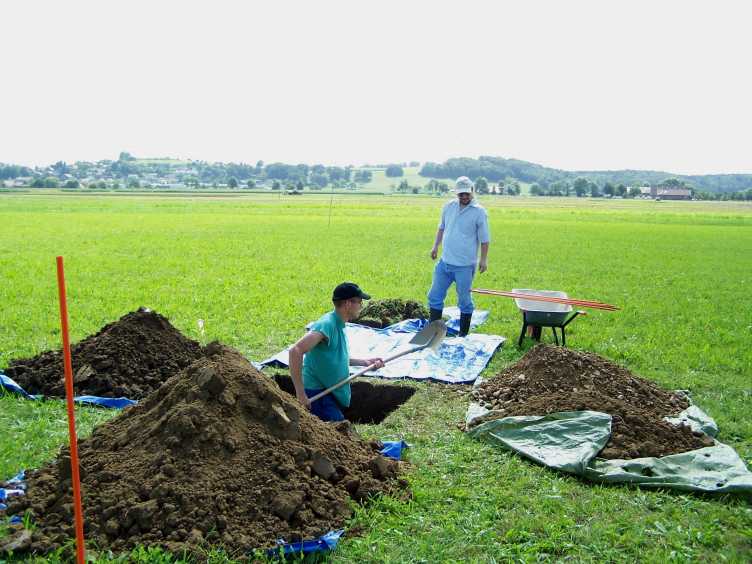
On the following day, a hole with an area of 1 m² and depth of up to 120 cm is digged. The achievable depth depends on the soil conditions at the site. While digging the hole, the soil extracted from different horizons is kept in separate locations. This ensures a minimal perturbation to the soil layers, so that the hole can be filled accordingly to the existing horizons after the installation of the instruments.
Step 3
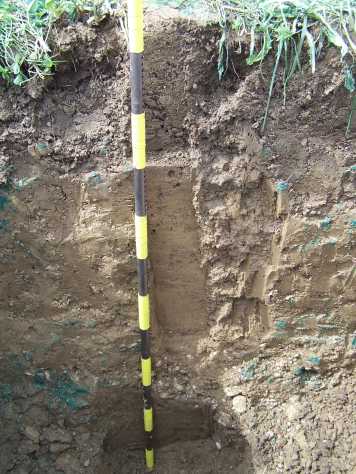
Soil samples from the different horizons are taken for laboratory analyses (grain size distribution, MIP (mercury intrusion porosimetry), retention curve). The flow paths, made visible by the sprinkling experiment, are examined to determine the flow characteristics at the site.
Step 4
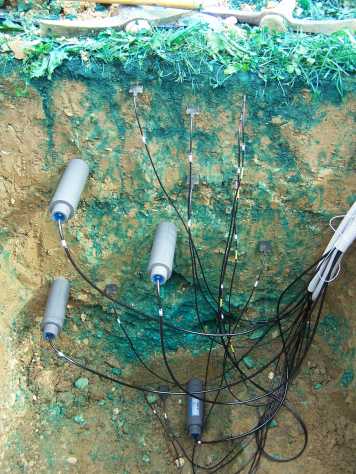
The soil moisture and temperature sensors are installed at depths of 5, 10, 30, 50, 80 and 120 cm. Some of the depths can vary from site to site depending on the geological characteristics. Parallel measurements are performed with different soil moisture sensors (mostly TDR and capacitance sensors).
